


|


Free Planting Guide - Side Oats Grama Grass
Sold Out
-
Sale Price
-
-
$1.00
-
Regular Price
-
Regular Price
-
$1.00
per plant
-
Unit Price
- per
Sold Out
- Sale Price
- $1.00
- Regular Price
- Regular Price
- $1.00
- Unit Price
- per
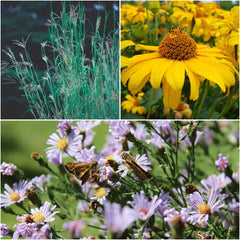
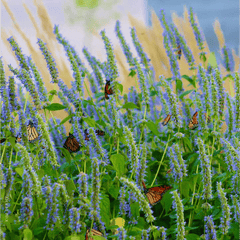
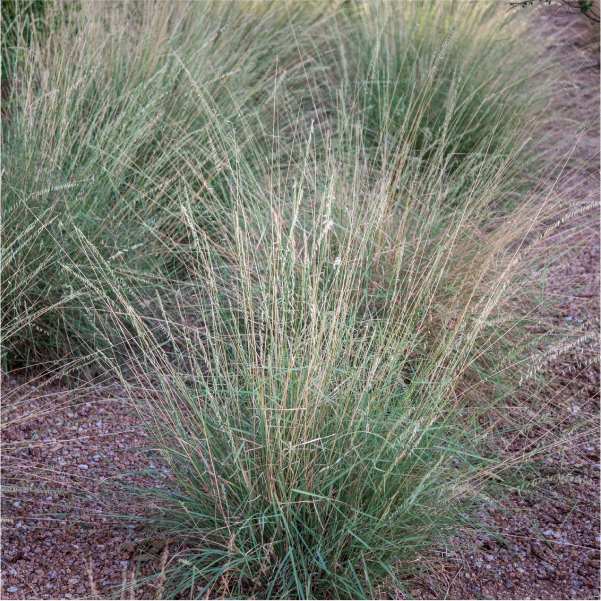
Native Side Oats Grama Grass is perfect for either full sun or partly shady spaces that get at least three to six hours of sun per day. This perennial grass will grow to fill a space up to 3-6 feet.
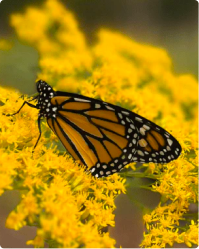
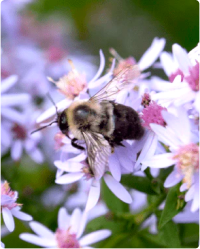
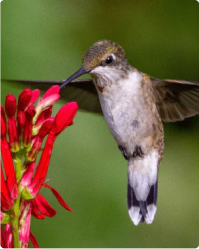
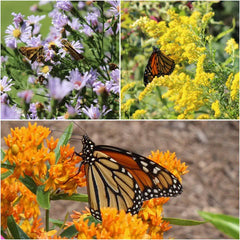
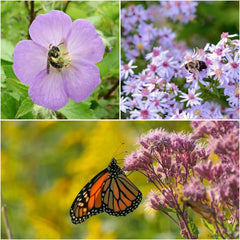
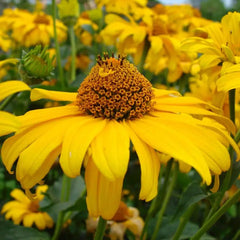
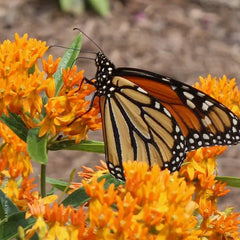
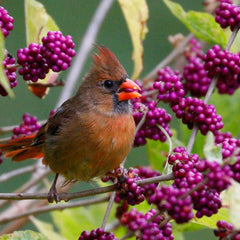
Side Oats Grama Grass will provide a welcoming environment to birds, butterflies, and other important pollinators and wildlife. This plant also helps add texture and color to your spring, summer, and fall garden.
When planted in the ground, these plants will spread wider and grow taller, while also helping underground soil systems.
Meet Your Plants
Side Oats Grama Grass
Bouteloua curtipendula
 Grows to: 1.5-3 Ft
  Spread: 1.5-2 Ft
  Blooms: July-August
 -
 Light Requirements: Full Sun, Part Shade
  Soil Moisture: Medium, Dry
  Soil Description: Clay, Sand, Rocky
  Attracts: Caterpillars, Birds, Fireflies
Upon Receiving Your Plants


Tips For a Thriving Wildlife Garden


